How Good is the LVP Flooring of Hallmark Floors?
Not all vinyl plank is created equal.
Choosing the right floor often means wanting the timeless look of hardwood but needing something that can handle spills, pets, and daily chaos without constant worry. Luxury Vinyl Plank (LVP) is a modern solution that offers both beauty and brawn, but quality varies dramatically between brands.
To cut through the noise, this guide focuses on a single, well-regarded brand: Hallmark Floors. We will investigate the key components that determine its durability, from the protective wear layer to the core’s construction, to determine if it’s the right long-term investment for your home.


What Makes LVP “Luxury”? The 3 Core Pillars of Quality Flooring
Not all vinyl plank is created equal, and “luxury” isn’t just a marketing gimmick. High-quality LVP is built with three critical components: the protective wear layer, the strong core, and the beautiful visual layer.
The wear layer is the invisible screen protector for your floor. It’s a clear, tough coating that provides the primary defense against scratches, scuffs, and stains. The thickness of this layer is a crucial indicator of durability; a thicker layer provides better protection against damage from dog claws or dragged furniture.
Beneath that protective surface lies the core, which gives the plank its strength and stability. Many premium floors, including Hallmark LVP, use an SPC (Stone Plastic Composite) core. The “stone” in the name tells you everything you need to know: it’s incredibly dense and rigid, preventing the floor from denting under heavy furniture or impact.
Finally, the visual layer is the high-definition printed image that gives the floor its authentic look. When a brand combines a realistic design with a thick wear layer and a solid SPC core, you get a floor that is truly luxury—both beautiful and built to last.


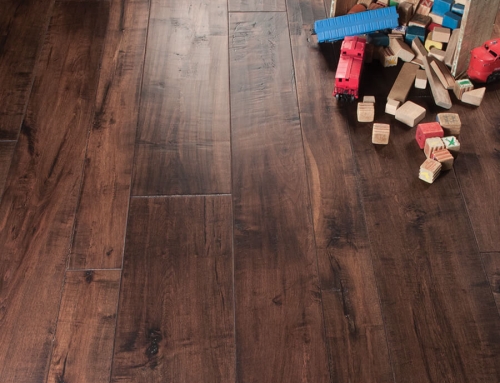
Hallmark’s Durability Deep Dive: Is It Truly Scratch and Dent Resistant?
When it comes to durability, the first question is always about scratches. Hallmark’s LVP wear layer thickness is a crucial advantage here. Thickness is measured in “mils,” and the higher the number, the better the defense.
- 6-12 mil: Good for low-traffic areas like bedrooms.
- 20+ mil: Excellent for high-traffic areas, pets, and kids.
Many Hallmark Floors collections feature a robust 20 mil wear layer, a specification often reserved for commercial spaces. This level of scratch resistance makes Hallmark LVP an outstanding choice for households with active pets, as it’s designed to stand up to claws and constant foot traffic.
Beyond surface-level scuffs is the threat of dents from heavy objects. Hallmark’s dense SPC (Stone Plastic Composite) core is infused with stone minerals, making it incredibly rigid and resistant to impact. This means you can have heavy furniture or accidentally drop a can from the pantry without leaving a permanent dent.
By combining a commercial-grade wear layer with a rigid stone-composite core, Hallmark delivers a powerful one-two punch against everyday damage. This toughness handles traffic and impacts, but true durability also requires standing up to moisture.


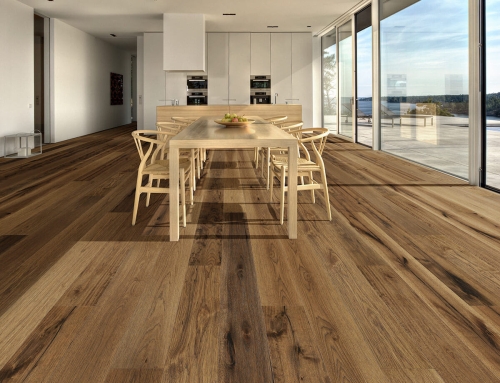
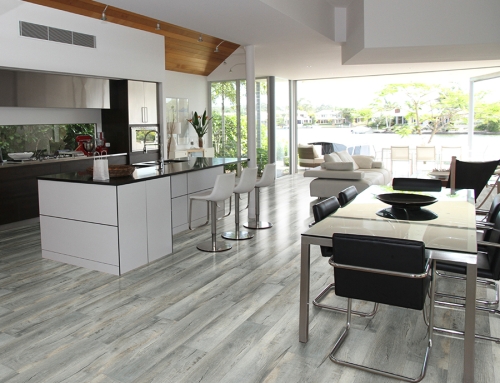
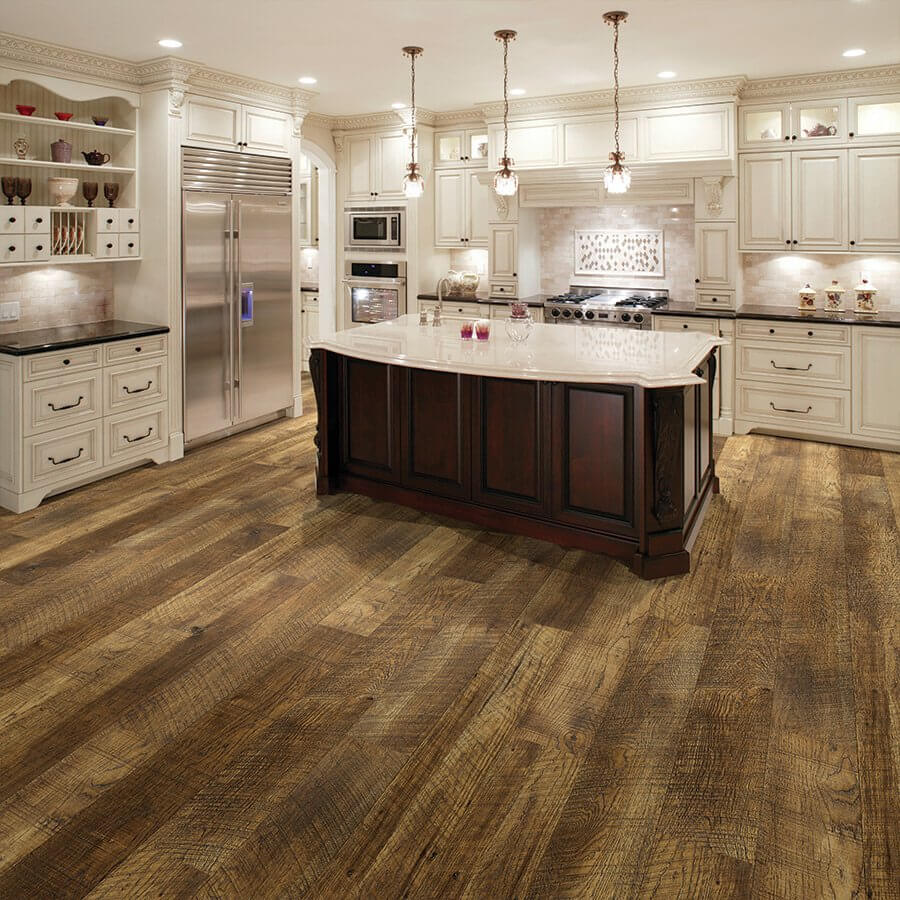
The Look and Feel: Does Hallmark LVP Avoid the “Fake Wood” Appearance?
The biggest hesitation people have with vinyl flooring is the fear that it will look artificial. Hallmark tackles this problem by focusing on creating an authentic, convincing texture you can actually feel.
The technology that makes this realism possible is called Embossed in Register (EIR). A basic vinyl plank is like a smooth photograph of wood. An EIR plank, on the other hand, has texture physically pressed into the surface that perfectly aligns with the visual wood grain underneath. Every knot, line, and subtle groove you see is also a groove you can feel, creating the convincing shadows and tactile response of real hardwood.
This is where premium brands truly separate themselves. Collections like the Hallmark Courtier are renowned for using EIR to deliver a level of realism that often fools guests. The impressive Hallmark Courtier collection durability also ensures this authentic, high-end look is built to last, not just impress on day one.


The Investment: What Is the Real Cost of Hallmark LVP Flooring?
The Hallmark LVP flooring cost typically falls into the premium category, ranging from approximately $4 to $8 per square foot for materials alone. While higher than budget vinyl, you’re paying for advanced visual technology and durability features. This price point reflects a deliberate focus on quality over sheer affordability.
In the broader flooring market, this is a strategic middle ground. It’s more accessible than engineered or solid hardwood, which can easily climb past $10 per square foot, yet it offers comparable visual appeal and superior resilience to water and scratches. This defines Hallmark as a high-value investment rather than a low-cost expense.
Ultimately, the true cost isn’t just the initial purchase. Because of its tough wear layers and robust construction, a well-maintained Hallmark floor is designed to last for decades, often backed by lifetime residential warranties. You’re investing in peace of mind and avoiding the cost and hassle of replacing a cheaper floor in just a few years.
Hallmark LVP vs. The Competition: How Does It Compare to Coretec?
In the world of premium LVP, Hallmark and Coretec are two top names with different design philosophies. The most significant distinction is the core, which changes how the floor feels, sounds, and performs.
Coretec largely built its reputation on the WPC (Wood Plastic Composite) core, which is known for feeling slightly softer and quieter underfoot. In contrast, many of Hallmark’s most durable collections feature an SPC (Stone Plastic Composite) core. Infused with limestone, an SPC core is significantly more rigid and dense. A WPC core is like the sole of a high-quality running shoe—cushioned and quiet—while an SPC core is like a thin, solid piece of granite—unyielding and incredibly tough.
If you’re flooring a second-story bedroom where noise reduction is a priority, the quieter nature of a WPC floor like Coretec is a compelling advantage. However, for a high-traffic kitchen, a bustling entryway, or a home with heavy furniture, the superior dent resistance of a Hallmark SPC floor provides unmatched durability. It’s better at resisting impacts from dropped pans or indentations from a heavy sofa.
This difference is why there are few genuine Hallmark vinyl plank flooring problems related to durability; its hardness is an intentional feature. Both brands deliver incredible value, but they simply excel in different areas.
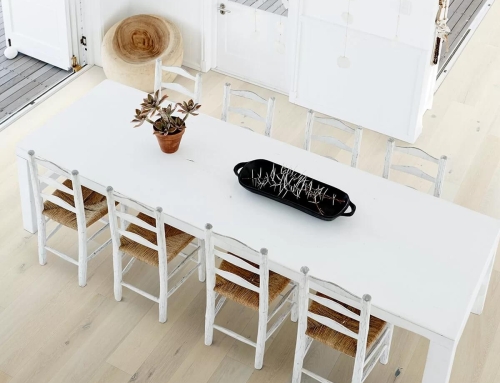
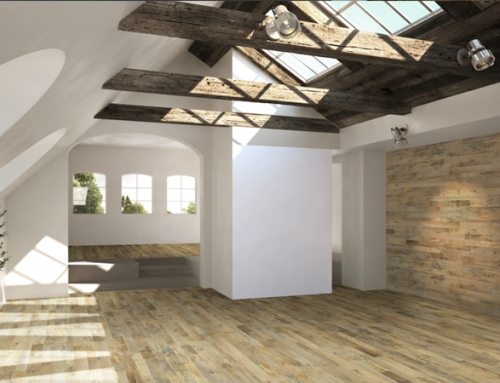
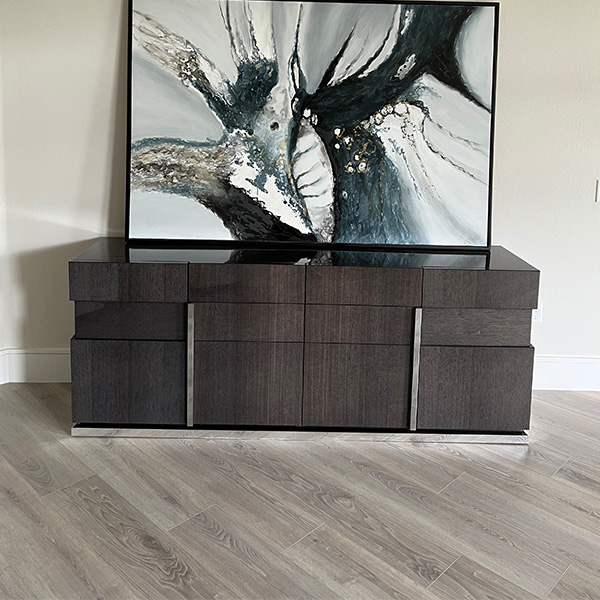
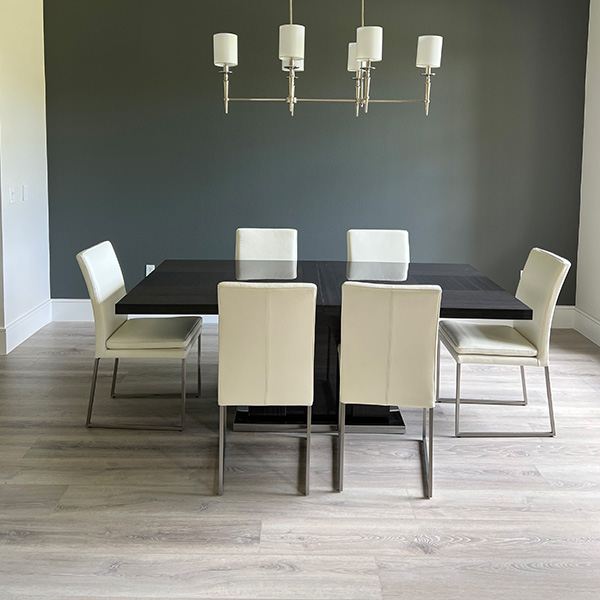
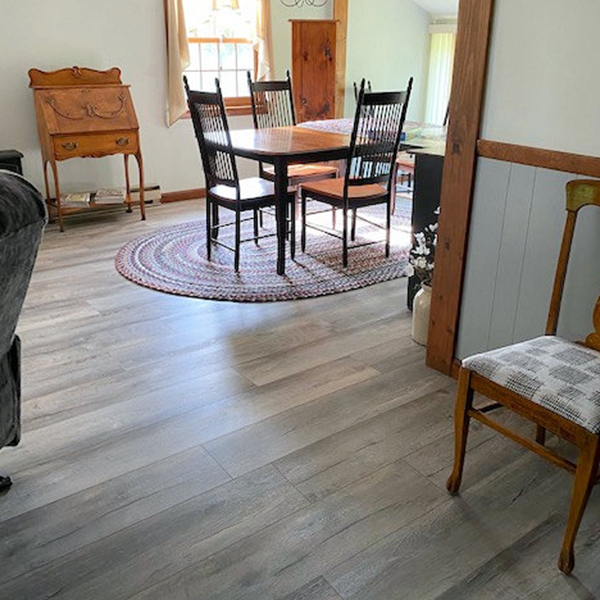
Some Installations of WaterProof LVP Flooring

Keeping It Clean: Your Simple Guide to Hallmark LVP Maintenance
Perhaps the best feature of a Hallmark floor is how little work it takes to keep it looking pristine. Knowing how to clean Hallmark vinyl plank floors boils down to a quick, three-step process that protects your investment.
- Sweep or Vacuum: Regularly remove dust and grit with a broom or a vacuum on its hard-floor setting (turn off the beater bar, as stiff bristles can dull the finish).
- Mop Smart: For a deeper clean, use a microfiber mop with a pH-neutral cleaner. Harsh chemicals like bleach or acidic solutions like vinegar can slowly damage the protective wear layer.
- Wipe Spills Promptly: Since the planks are waterproof, spills aren’t a catastrophe. Simply wipe them up with a damp cloth as they happen.
Modern LVP from Hallmark Floors is engineered to maintain its factory sheen for decades with this simple care routine alone. You can forget the days of waxing or polishing.
What to Watch Out For: Common Issues and How to Avoid Them
When looking into potential Hallmark vinyl plank flooring problems, you’ll find most issues aren’t with the planks but with the installation. The most critical factor is the subfloor. If this foundation isn’t perfectly flat, the locking system between planks can be stressed, leading to gaps, squeaks, or a hollow sound.
Another tell-tale sign of a rushed job is a noticeable pattern repeat. Because the wood design is printed, a skilled installer will open three to five boxes at once, mixing the planks as they work. This simple step from the official Hallmark LVP installation guide breaks up the pattern and ensures a random, natural look that mimics real wood.
Achieving a flawless floor is a partnership between premium material and skilled labor. Asking your installer two simple questions—“How will you prepare my subfloor?” and “Do you mix planks from multiple boxes?”—can save you from the most common headaches.
The Final Verdict: Who Is Hallmark LVP Flooring Most Effective For?
After evaluating its wear layers, core construction, and waterproof capabilities, it’s clear what defines Hallmark LVP. The brand is a great fit if you:
- Have pets, kids, or high foot traffic
- Need a 100% waterproof solution for any room
- Prioritize hyper-realistic wood looks and textures
- View your flooring as a long-term home investment
If that list describes your needs, you can move forward with confidence. Hallmark’s focus on durability, realism, and resilience, confirmed by its FloorScore certification, makes it a sound investment. You’re not just choosing a floor; you’re selecting a durable, high-performance foundation for your home.
BONUS: ARTICLE
HOW TO INSTALL LVP FLOORING
DIY GUIDE: In 4 EASY Steps
1. Preparation: The Most Critical Step
Most LVP failures aren’t caused by the planks, but by what’s underneath them.
✓ Acclimation: Let the boxes sit in the room for 48 hours before installing. This prevents the planks from expanding or shrinking later.
✓ Subfloor Check: Ensure the floor is level. If there’s a dip deeper than 3/16 inch over a 10-foot span, use a self-leveling compound.
✓ The “Clean” Test: Sweep and vacuum multiple times. A single pebble can cause a “telegraphing” bump or a crunching sound when you walk.
2. Essential Tools
You don’t need a power saw for most LVP, though it can speed things up.
✓ Utility Knife: For “score and snap” cuts.
✓ Rubber Mallet & Tapping Block: To lock joints without damaging the edges.
✓ Pull Bar: Essential for locking the last plank against a wall.
✓ Spaces: To maintain a 1/4-inch expansion gap around the perimeter.
3. The Installation Process
LVP Flooring Installation
Step 1: Establish Your Layout
Measure the width of the room. If your last row is going to be less than 2 inches wide, rip (cut) your first row down so the floor looks balanced. Always work left to right.
Step 2: The First Row
Place spacers against the walls. Lay the first plank with the “tongue” side facing the wall. Connect the short ends of the first row by dropping them into place and lightly tapping with the mallet.
Step 3: Stagger the Joints
This is the “pro” secret. Ensure the end joints of adjacent rows are at least 6 to 8 inches apart.
Step 4: Clicking and Locking
Hold the new plank at a 20° to 30° angle, fit the long tongue into the previous row’s groove, and rotate it down. Use the tapping block to snug it in.
Step 5: Dealing with Door Jambs
Don’t try to cut the plank to fit the trim. Instead, use an undercut saw (or a oscillating multi-tool) to cut the bottom of the door casing so the flooring can slide underneath it.
4. Finishing Touches
✓ Remove Spacers: Once the floor is down, pull the spacers out.
✓ Install Quarter Round: Nail your molding into the wall/baseboard, never into the floor itself. The floor needs to “float” (expand and contract).
✓ Transition Strips: Install these at doorways where the LVP meets carpet or tile.
Pro-Tips for Homeowners
✓ The “Score and Snap”: To cut a plank, score the top wear layer with a sharp utility knife 2–3 times, then bend it back. It should snap cleanly.
✓ Check for Debris: Frequently check the “grooves” of the planks. If a tiny piece of plastic or dust gets in there, the next plank won’t lock perfectly.