The Secret to Stunning Floors: The Best Wood Floor Cleaners
Featuring Recommendations by Hallmark Floors
Wood floor cleaners are an investment that adds warmth, elegance, and value to any home. But maintaining their showroom luster requires more than just a quick wipe—it demands the right cleaner. Using the wrong product can dull the finish, leave streaks, or even void your floor’s warranty.Here is a guide to the best wood floor cleaners on the market, including specific recommendations that align with professional flooring manufacturer standards, like those from Hallmark Floors.
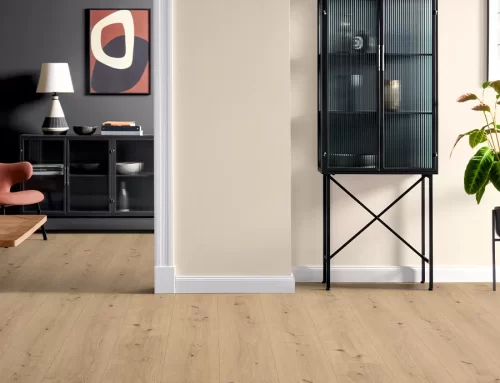
aKosters-Wood-Floor-Store-Hallmark-Floors-maintenance-products

What Makes a Great Wood Floor Cleaner?
The best wood floor cleaners are formulated to remove dirt and grime without damaging the protective finish (urethane, oil, or lacquer) on your wood. Look for these critical features: It matters what to avoid and what is needed like pH-neutral formula non-acidic and non-alkaline. Gentle enough for regular use without stripping the finish. Vinegar, ammonia, or strong degreasers. Residue-Free Dries quickly and leaves no sticky or dull film behind.
A sticky film attracts more dirt. Soap-based or oil-based cleaners (like Murphy Oil Soap, if not properly diluted).
Quick-Drying Minimizes water contact with the wood, preventing potential swelling or warping.
Soaked mops or steam cleaners (which force hot moisture into the wood) which have finish compatibility
Specifically designed for the type of finish on your floor (e.g., polyurethane, engineered, or natural oil).”Two-in-one” cleaners that add shine or wax, as they interfere with future professional re-coating.
General Wood Floor Cleaners
These cleaners are consistently ranked high by cleaning labs and flooring professionals for their effectiveness and safety on most standard sealed hardwood floors:
Best Overall: Bona Hardwood Floor Cleaner
Why it’s a winner: Bona is a brand trusted by professionals. The formula is pH-neutral, water-based, and leaves no dulling residue. It is also often EPA Safer Choice-certified, making it safe for homes with kids and pets. It comes ready-to-use in a spray bottle or a convenient refillable spray mop.
Best Natural/Eco-Friendly: Aunt Fannie’s Hardwood Floor Cleaner
Why it’s a winner: This cleaner is known for its plant-based, non-toxic formula. It offers an excellent cleaning performance for eco-conscious homes and those with chemical sensitivities, often utilizing ingredients like vinegar (at a safe, diluted pH level).
Best Value/Concentrate: Murphy Concentrated Wood Cleaner
Why it’s a winner: A classic, time-tested solution. Its concentrated formula provides excellent value. When properly diluted according to instructions, it’s effective for general cleaning and tackling grime on a variety of wood surfaces, not just floors.
Hardwood Floor Cleaning Do’s and Don’ts
To maintain the beauty and longevity of your wood floors, remember these universal rules:Do’s (Best Practice)Don’ts (Avoid at All Costs)
✅ Dust Mop or Vacuum First. Remove abrasive grit, hair, and dust before wet-cleaning.
❌ Use a Steam Mop. Steam can force moisture between floorboards and permanently warp the wood.


✅ Use a Microfiber Mop. They are highly effective at picking up and trapping dirt with minimal moisture.
❌ Use Undiluted Vinegar or Ammonia. The high acidity can permanently dull or etch the protective finish.
✅ Wring the Mop Thoroughly. Your mop should be damp, not wet or dripping. Excess water is the enemy of wood.
❌ Use Wax, Oil Soap, or Acrylic Polishes. These leave a difficult-to-remove residue that attracts dirt and interferes with future professional maintenance.
✅ Wipe Up Spills Immediately. Don’t let standing liquid of any kind (water, soda, pet accidents) sit on the floor.
❌ Use a Vacuum with a Beater Bar. The hard, spinning brush can scratch the wood’s finish.Choosing the best cleaner for your wood floor is about protecting your home’s most beautiful asset. By sticking to neutral pH, residue-free, and manufacturer-recommended formulas, you can keep your floors gleaming for decades.
Recommended Cleaners for Hallmark Floors
It is crucial to use the correct cleaner for your Hallmark Floors hardwood, as using an unauthorized product can void the factory warranty. The recommended cleaner depends on the specific finish of your flooring:
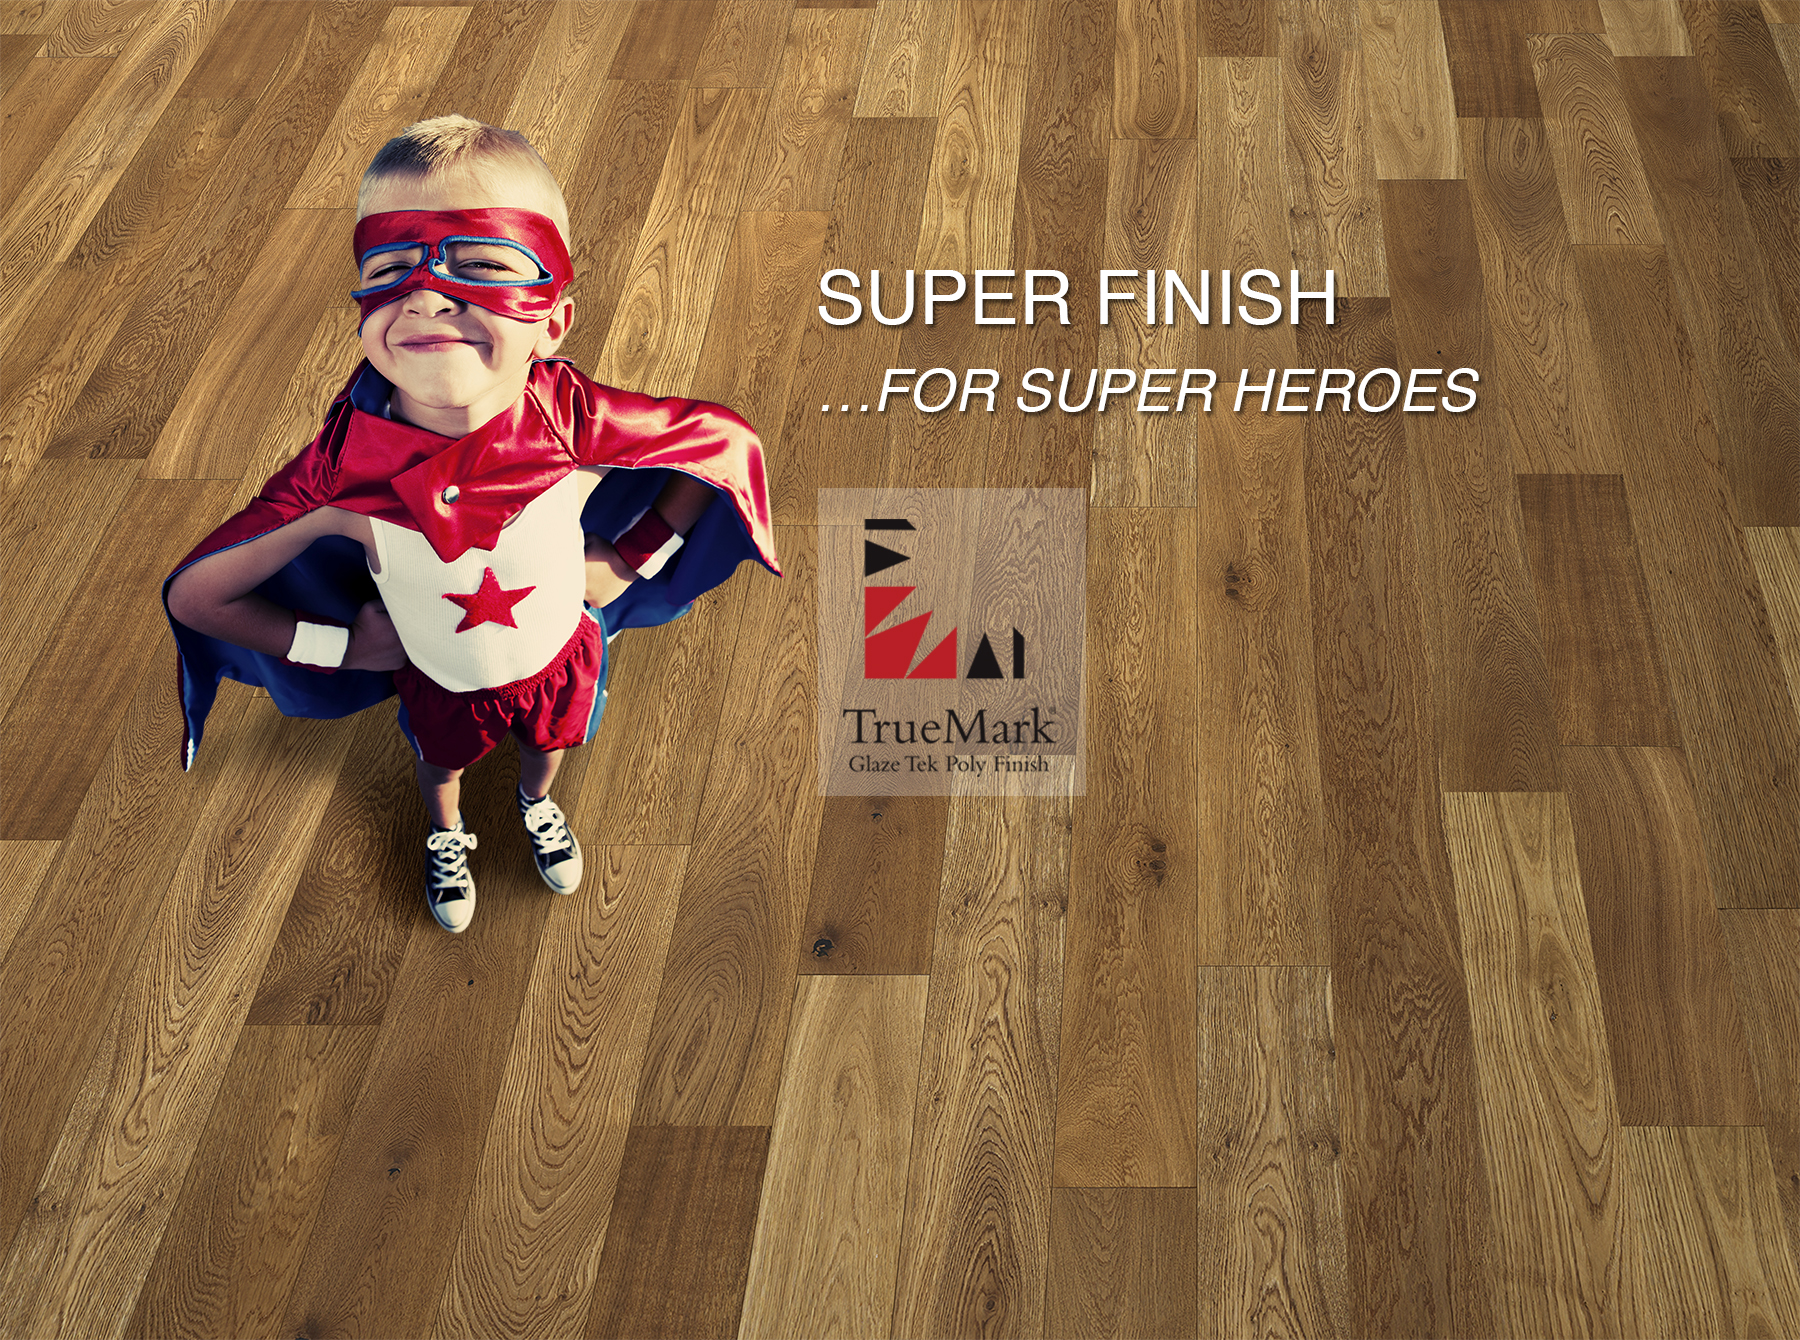
1. FOR HALLMARK FLOORS WITH TRUEMARK® GLAZE TEK FINISH
(Found in collections like Courtier, Avenue, Ventura (excluding Oak), Monterey, Grain & Saw, Novella (excluding Oak), Regatta, and others.)
Recommended Cleaners:
- WOCA Home Hardwood, LVT, Tile & Laminate Floor Cleaner: This product is often recommended by Hallmark Floors as an approved cleaner that leaves no residue and is safe for regular use.
- Bona® Pro Series Hardwood Floor Cleaner
- LOBA® Universal Floor Cleaner


2. FOR HALLMARK FLOORS WITH NU OIL® FINISH
(Found in collections like True, Organic Engineered 567, Alta Vista, Ventura (Oak only), Novella (Oak only), Organic Solid, Crestline Solid.)
Recommended Cleaners:
- WOCA Natural Soap Spray and Natural Soap Concentrate: These products clean and nourish the oiled wood floors.
- Bona® Pro Series Natural Oil Floor Cleaner
- LOBA® Universal Floor Cleaner
- Hallmark Floors NuOil ReNu Cleaner (This is also an approved product for regular cleaning and maintenance.)
3. IMPORTANT CAUTIONARY NOTES
- Check Your Finish: The most important step is to confirm whether your specific Hallmark floor collection has a Glaze Tek (sealed) finish or a Nu Oil (oiled) finish, and use the cleaner that matches your finish type.
- Avoid Unauthorized Cleaners: Do NOT use oil soaps, paste wax, steam cleaners, two-in-one cleaners (that contain acrylics or urethane polish), or cleaners containing lemon oil, citrus oils, Tung oils, ammonia, or silicone, as these can damage the finish and invalidate your warranty.
- Mops: Do NOT use string mops or sponge mops; use a microfiber mop with the recommended cleaner.
To get the most accurate and up-to-date information, I recommend checking the official Hallmark Floors Care and Maintenance Guide for your specific flooring collection.


Repairs of Hardwood Floors
Hardwood floors are durable, but they can definitely show wear over time. The best repair method really depends on the type and severity of the damage.
Here are some common hardwood floor repair techniques, categorized by the type of damage:
COMMON HARDWOOD FLOOR REPAIRS
1. MINOR SCRATCHES and SCUFFS
These usually affect the finish layer.
- The Walnut/Nut Method: For very light scratches, rub a piece of a shelled walnut (or other oily nut like a pecan) over the scratch, following the wood grain. The natural oils and pigments can help hide the light scratch.
- Oil and Vinegar: Mix equal parts olive oil and vinegar and rub the mixture into the scratch with a soft cloth, moving with the grain. The oil helps fill the scratch, and the vinegar cleans and slightly darkens the exposed wood.
- Wax Repair Sticks: Use a colored wax stick or crayon that matches your floor. Rub the wax into the scratch, then buff the excess with a clean, soft cloth.
- Touch-up Kits/Refinishers: Use a hardwood floor polish or restorer to fill in light scratches and restore shine to the finish.
2. DENTS
Dents are compressions in the wood fiber.
- The Steam Method: This can help the compressed wood fibers swell and rise back up.
- Place a few drops of water in the dent (you can prick the finish with a small pin first to let the water penetrate).
- Lay a damp cloth or small sponge over the dent.
- Place a hot iron (on the lowest steam setting or no steam) on the cloth for a few seconds, lifting it often to check the spot. Be very careful not to hold the iron in one spot too long, as it can damage the finish. Repeat as needed.
- Wood Filler: For deeper dents that don’t fully respond to steaming, use wood filler that matches the color of your floor. Apply it, let it dry, sand it smooth, and then reapply a matching stain and finish.
3. DEEP SCRATCHES or GOUGES
These have gone through the finish and into the wood itself.
- Wood Filler: Clean the area, apply a matching wood filler with a putty knife, let it dry, and then sand it flush with the floor. Finish with a matching stain and topcoat (polyurethane).
- Sanding and Refinishing (Spot Repair): You can try a very localized sanding to remove the damage, but this can be difficult to blend with the rest of the floor’s finish. It often requires starting with a heavier grit sandpaper and working up to a fine grit, then applying a tinted sealer and finish to match.
4. GAPS BETWEEN BOARDS
Gaps are common as wood expands and contracts with changes in humidity.
- Wood Putty/Filler: Use a flexible wood filler or caulk specifically designed for filling gaps in hardwood floors. Choose a color that matches the floor.
- Wood Slithers/Shims: For larger gaps, very thin strips of wood (slivers) can be glued into the gap and then sanded and finished to match.
5. EXTENSIVE DAMAGE (WATER DAMAGE DEEP GOUGES or ROT)
If the damage is severe, you may need to replace the individual board(s).
- Board Replacement:
- Carefully cut out the damaged board using a specialized tool (like an oscillating saw) or by drilling and chiseling out the center of the board.
- Remove the remaining pieces.
- Prepare a new, matching board by cutting off the bottom lip of the groove so it can drop into place.
- Glue and/or nail the replacement board in, then sand (if necessary), stain, and finish to blend.
6. GENERAL REPAIR TIPS
- Clean First: Always thoroughly clean the damaged area to remove all dirt and debris before attempting any repair.
- Test Your Match: If you are using stain or filler, always test the color on a scrap piece of matching wood or a hidden area (like inside a closet) to ensure it blends properly.
- Know Your Finish: Is your floor covered with polyurethane, wax, or oil? This will affect what repair products you can use to seal and protect the spot afterward. Polyurethane is the most common.
- Refinishing: If the damage is widespread, the most effective solution for restoring the entire floor is a full sand and refinish of the whole room or house.
All About Wood Fuming by Hallmark Floors
Educational