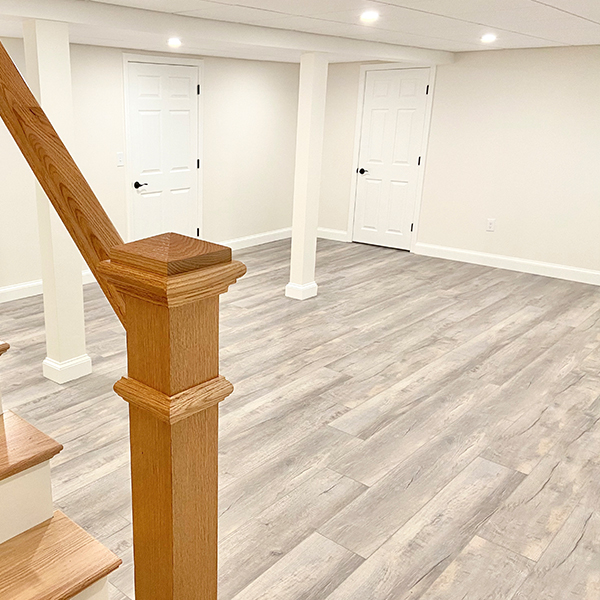
5 Proven Techniques to Refinish Engineered Hardwood
1. Preparation is key
✦ Assess the Wear Layer: Before you even think about sanding, determine the thickness of the real wood veneer. Generally, a veneer of 2mm or more is needed to withstand even light sanding. Floors with thinner veneers (1mm or less) should likely not be refinished, as you risk sanding through to the core layers. Consult the manufacturer’s specifications if available.
✦ Clear the Room Completely: Remove all furniture, rugs, and obstacles. Cover any vents or doorways to prevent dust from spreading to other areas.
✦ Clean the Floor Meticulously: Sweep, vacuum, and then use a slightly damp mop with a pH-neutral wood floor cleaner to remove all dirt, dust, and debris. Ensure the floor is completely dry before proceeding.
✦ Address Imperfections: Inspect for loose nails or staples and countersink them. Fill any small holes or gaps with a wood filler that matches the wood tone. Allow the filler to dry completely and sand it smooth with fine-grit sandpaper.

2. Gentle and Precise Sanding
✦ Use the Right Sander: For engineered hardwood, a lightweight orbital sander is generally recommended over a heavy drum sander, which can easily remove too much material. For edges and corners, use a handheld orbital sander or an edge sander.
✦ Start with Fine-Grit Sandpaper: Begin with a fine-grit sandpaper (100-120 grit) to lightly remove the existing finish and minor scratches. Avoid aggressive sanding. The goal is to remove the top coat, not a significant amount of the wood veneer.
✦ Sand with the Grain: Always sand in the direction of the wood grain to prevent scratching and ensure a smooth surface. Work in consistent, overlapping passes.
✦ Progress to Finer Grits (If Necessary): If there are still visible imperfections after the initial sanding, you can carefully move to a slightly finer grit (150-180 grit). However, proceed with caution and avoid over-sanding.
✦ Vacuum Thoroughly Between Passes: After each sanding pass, thoroughly vacuum the floor to remove all sanding dust. This is crucial for a smooth finish. You can also wipe the floor with a slightly damp cloth (ensure it’s not too wet) to remove any remaining fine dust particles.


3. Careful Staining (Optional)
✦ Test the Stain: If you choose to stain your engineered hardwood, always test the stain on an inconspicuous area or a spare piece of flooring first to ensure you achieve the desired color.
✦ Apply Stain Evenly: Use a high-quality brush, roller, or rag to apply the stain evenly, working with the wood grain. Wipe away any excess stain according to the manufacturer’s instructions.
✦ Allow Sufficient Drying Time: Ensure the stain is completely dry before applying the finish. Follow the stain manufacturer’s recommended drying time, which can vary depending on the product and environmental conditions.

4. Applying a Durable Finish
✦ Choose the Right Finish: Select a high-quality polyurethane finish (water-based or oil-based) designed for wood floors. Water-based finishes tend to have lower VOCs and dry faster, while oil-based finishes offer excellent durability and a richer tone. Consider the sheen level (matte, satin, semi-gloss, gloss) based on your preference and the traffic in the area.
✦ Apply Thin, Even Coats: Use a good quality applicator (brush or roller) to apply thin, even coats of the finish, working with the grain. Avoid drips and puddles.
✦ Allow Proper Drying Time Between Coats: Let each coat dry completely according to the manufacturer’s instructions before applying the next coat. Lightly buff the floor with very fine-grit sandpaper (220 or higher) or a buffing screen between coats to ensure good adhesion and a smooth final surface.
✦ Apply Multiple Coats: Typically, two to three coats of finish are recommended for good durability.tal conditions.

5. Proper Curing and Maintenance
✦ Allow Sufficient Curing Time: After the final coat of finish, allow the floor to cure completely before walking on it or replacing furniture. This can take anywhere from 24 to 72 hours or more, depending on the type of finish and environmental conditions. Avoid heavy traffic and rugs during the initial curing period.
✦ Maintain Regularly: Once the floor is cured, maintain it properly by sweeping or vacuuming regularly, cleaning up spills immediately with a damp cloth, and using appropriate wood floor cleaners. Place rugs in high-traffic areas and felt pads under furniture legs to prevent scratches and wear.
Important Considerations:
✦ DIY vs. Professional: Refinishing engineered hardwood can be a DIY project for experienced individuals. However, due to the risk of damaging the thin veneer, it’s often recommended to hire a professional flooring contractor, especially if you are unsure about any step or if the floor has significant damage.
✦ Dust Control: Sanding creates a lot of dust. Use a vacuum sander or connect your sander to a dust collection system if possible. Seal off the work area and wear appropriate safety gear, including a dust mask, eye protection, and ear protection.

RECAP
By following these 5 proven techniques, you can successfully refinish your engineered hardwood floors, enhancing their beauty and extending their lifespan while being mindful of the delicate veneer layer. The refinish engineered hardwood process is usually done upon the enduser’s request or after several years or so to make your hardwood floors shine and renewed all over again. The timeless beauty and durability of the wood flooring repeatedly becomes the center of appreciation and attention of our family and visitors alike.
The Advantages of Hallmark Floors

DURABLE SURFACE LAYER
Hallmark Floors uses only true hardwood veneers and TSCA Title VI glues for the center-ply in our engineered floors’ hardwood construction. The center veneers are cold pressed, then hot pressed using tremendous pressure. This process makes the eco-friendly center core harder and more proportionally stable.

Four coats of hand applied base and accent colors, combined with twelve coats of finish achieve an unparalleled depth and richness. Nano technology is incorporated into the surface and fortified with aluminum oxide for a finish so durable it carries a limited lifetime warranty against wear through.

UNIQUE SURFACE
The hardwood floors are carefully handcrafted using different techniques to accentuate the striking characteristics of the wood raw material, resulting in a beautiful and lively floor with a genuine wood texture.

ENGINEERED WOOD STRUCTURE
Hallmark Floors’ engineered hardwood floors is constructed with an ultra thick wear layer has the same usable surface as 3/4” solid hardwood flooring, which allows 3 guaranteed sandings.
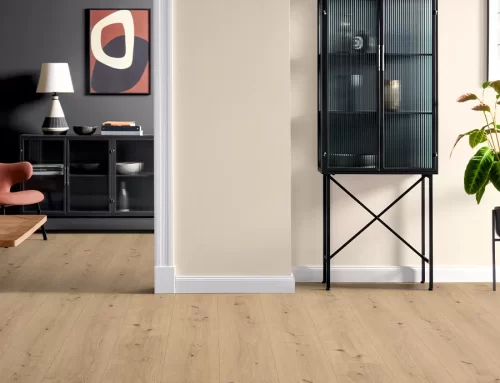
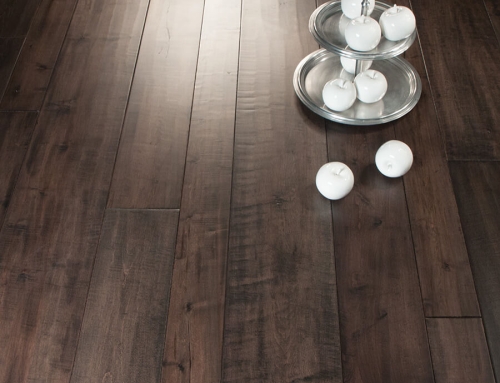
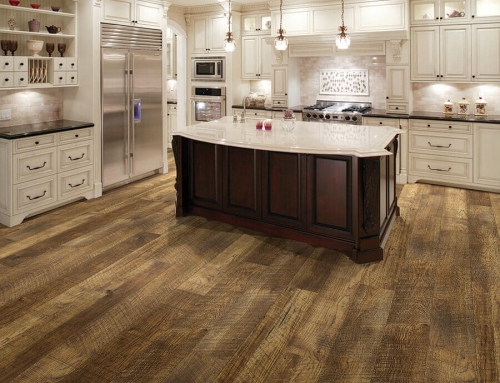
You may want to see
Looking for Hallmark Floors in your area? Our dealers are located across the country to provide you with high-quality products and exceptional customer service. By using our Dealer Locator, you can easily find a trusted Hallmark Floors dealer near you and explore our extensive range of flooring options. Our dealers are experts, offering personalized assistance to help you find the perfect floor for your needs. You can explore a variety of styles, colors, and finishes to match your home decor. All Hallmark Floors products are crafted to the highest standards, ensuring durability and beauty. To use our Dealer Locator, simply enter your full address to browse the list of nearby dealers, and use the provided contact information and map to visit the dealer or give them a call. Customers have praised our dealers for their outstanding service and offers. If you have any questions, our customer service team is ready to assist you at 888-551-0888 or email us. Find your nearest Hallmark Floors dealer today and discover quality flooring near you.