
FIND YOUR FLOOR
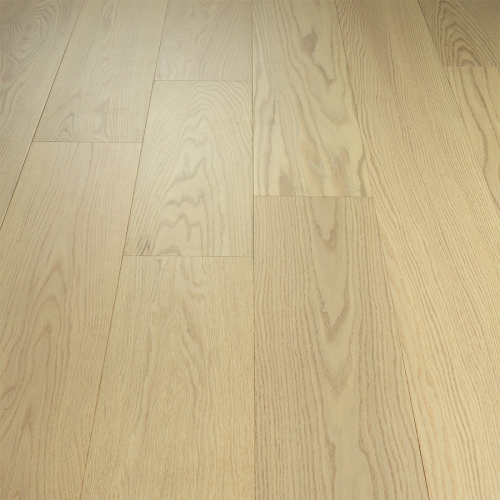
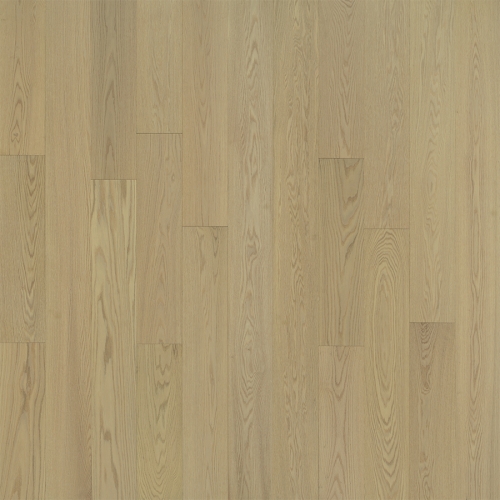
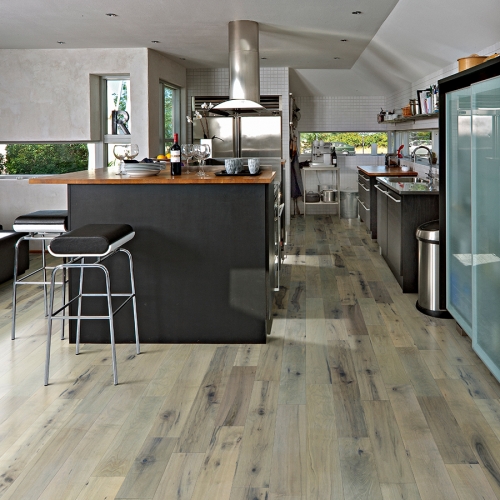
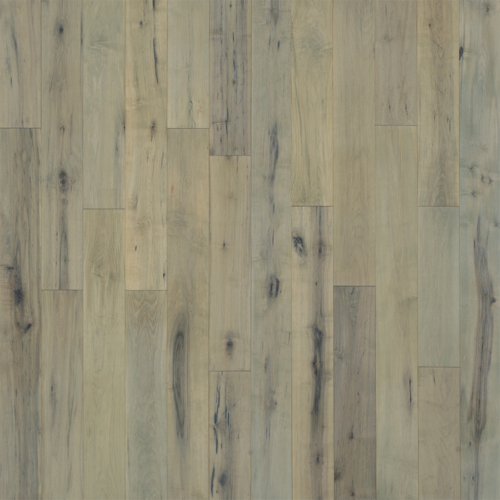
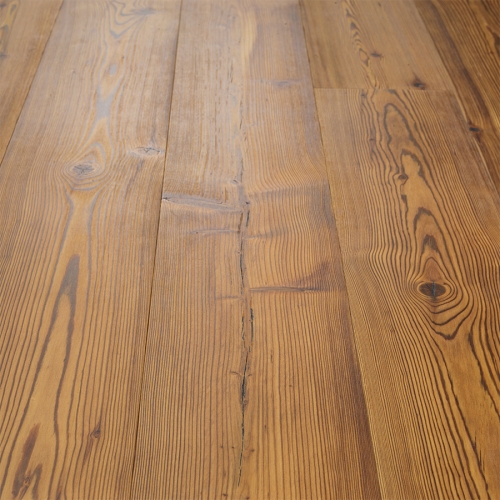
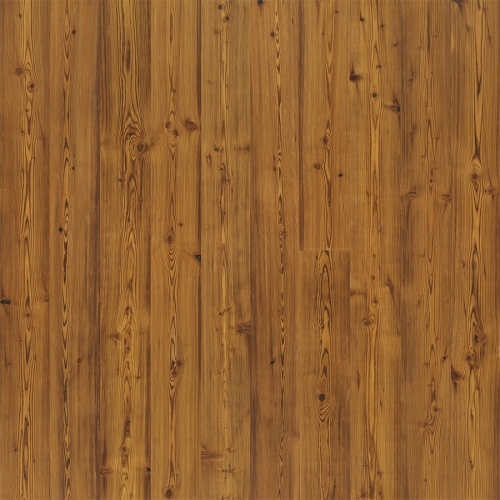
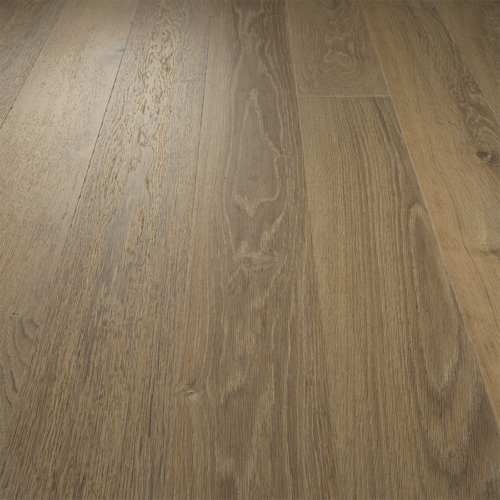
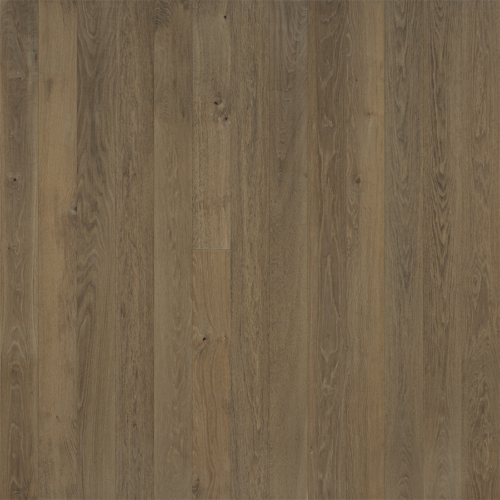
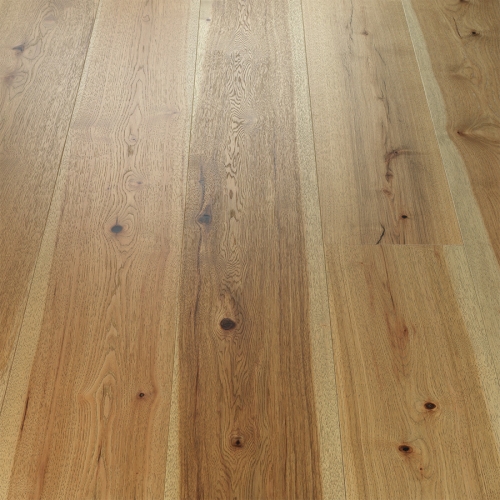
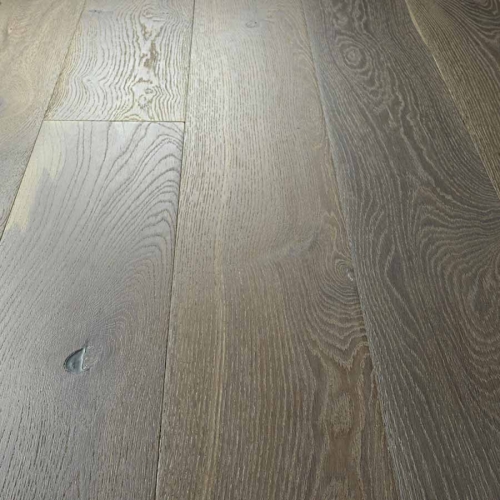
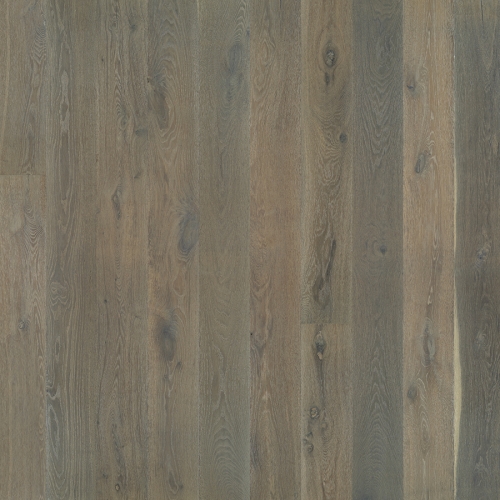
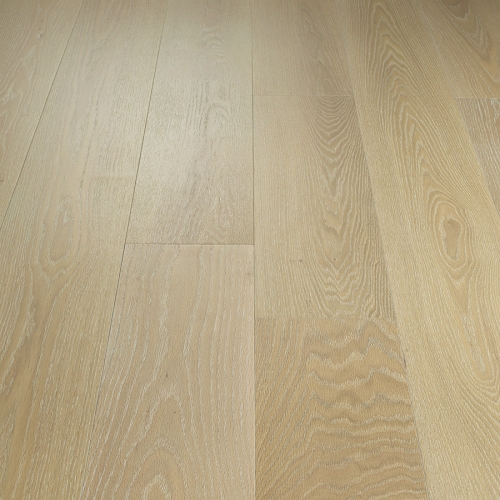
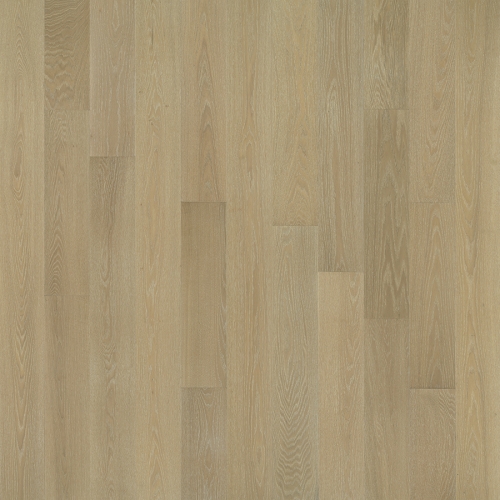
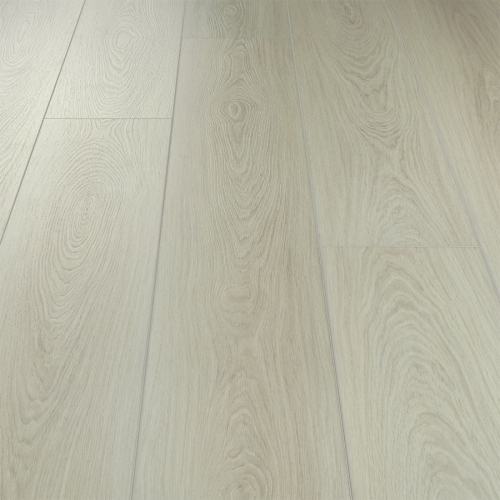
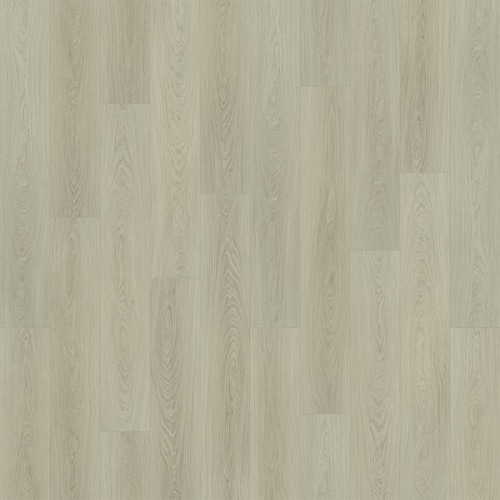
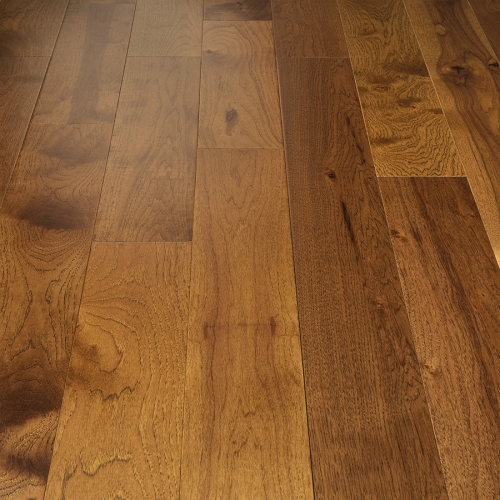
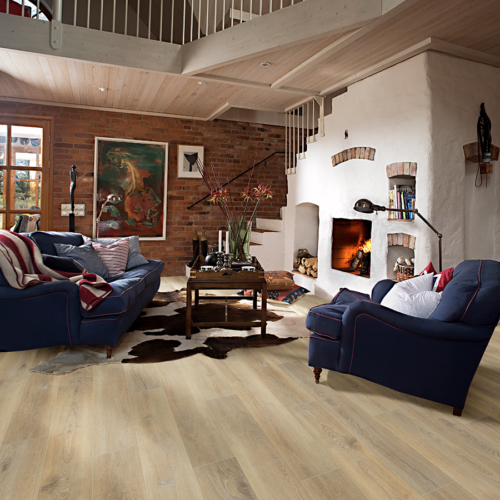
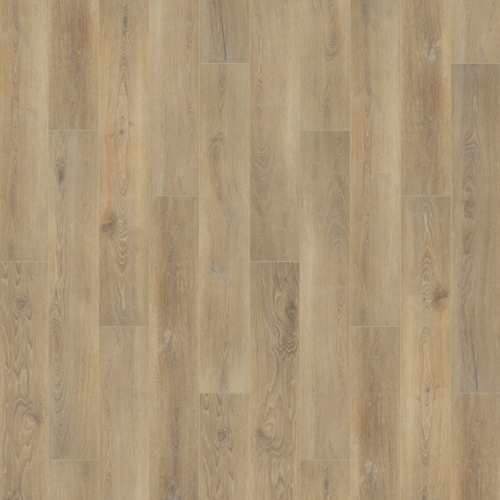
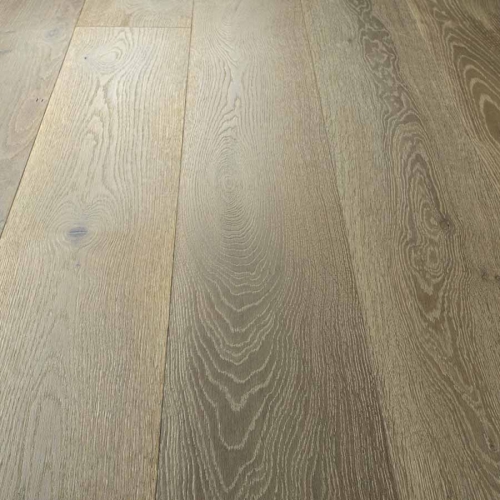
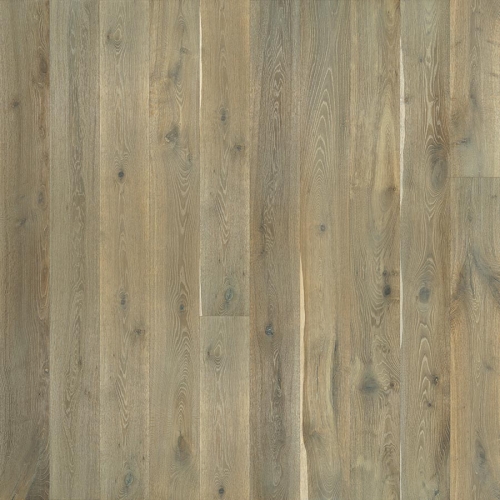
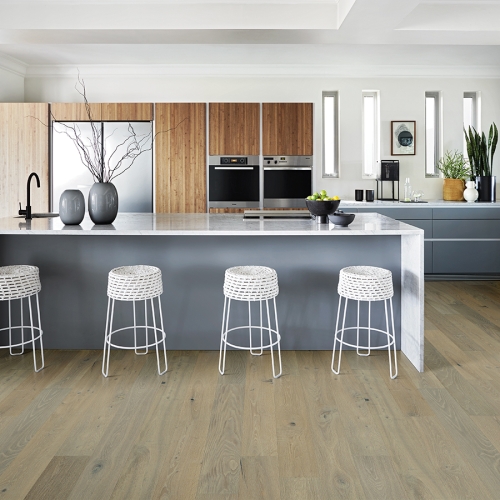
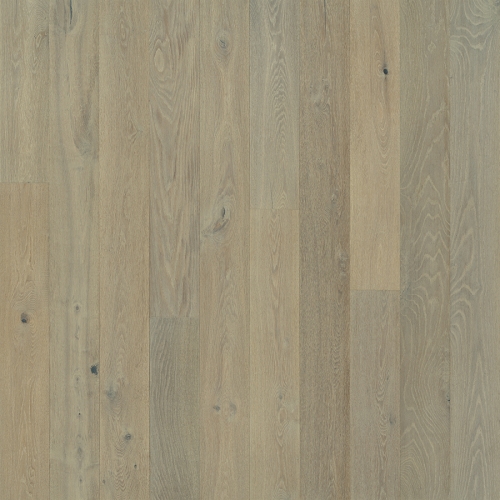
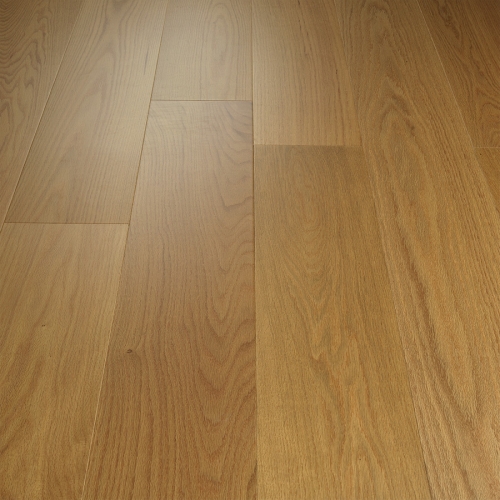
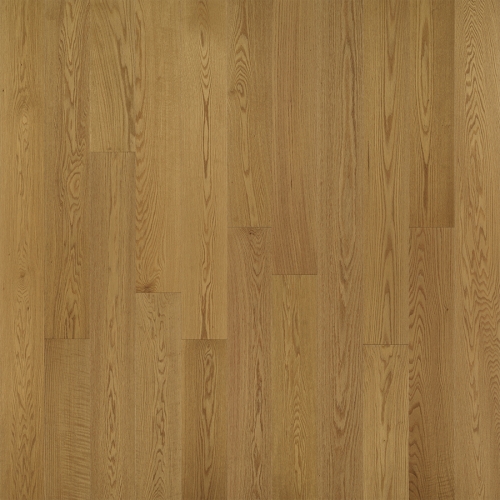
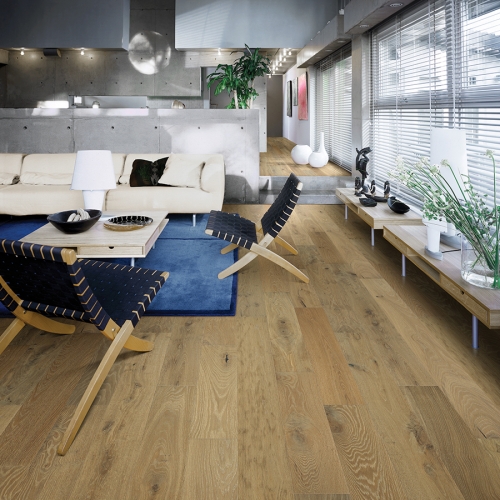
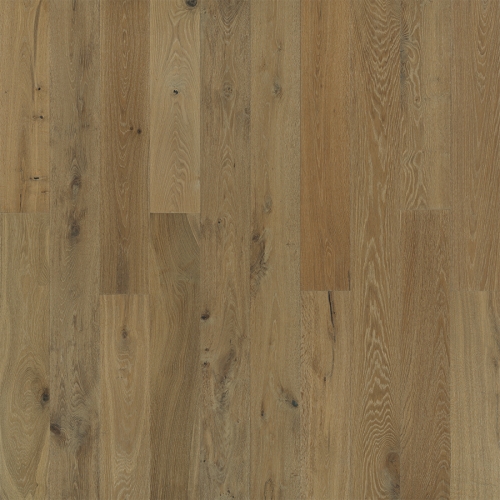
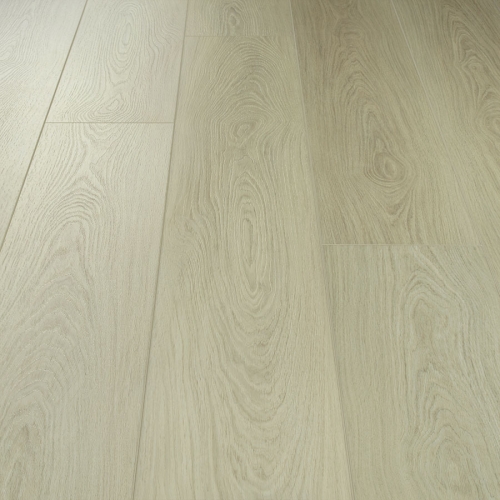
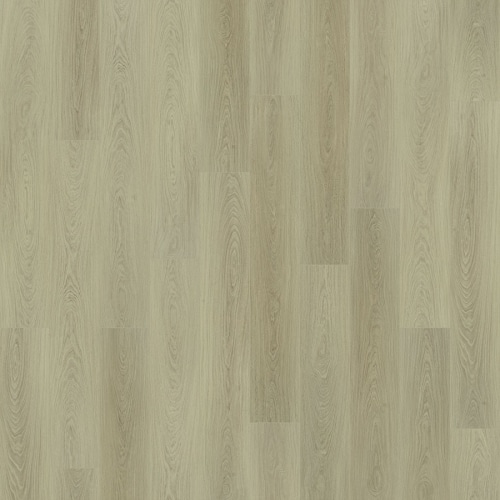
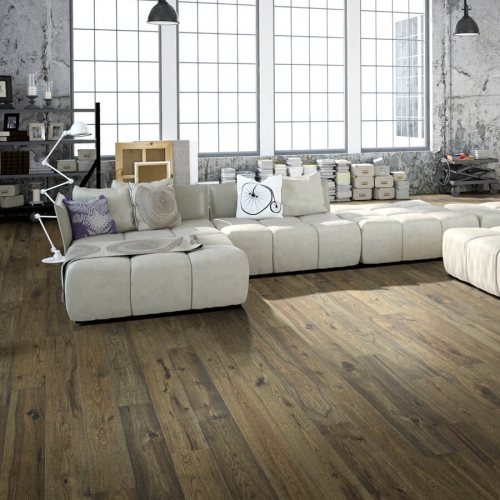
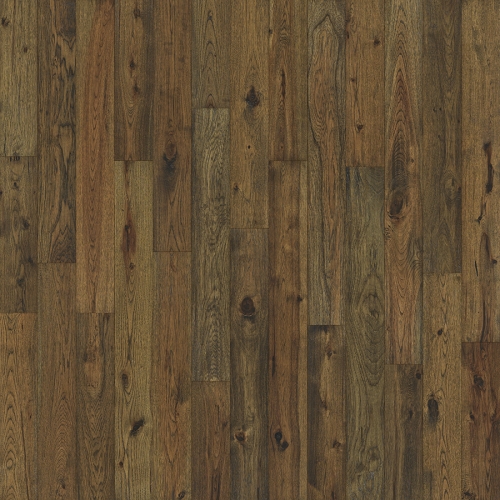
Search our wide range of beautiful flooring & find your floor!
FIND FLOORS BY FILTERING
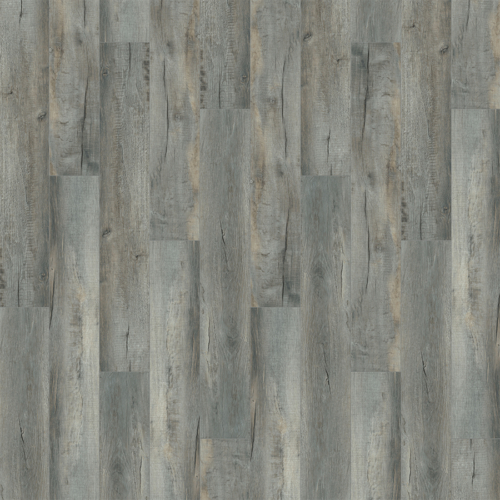
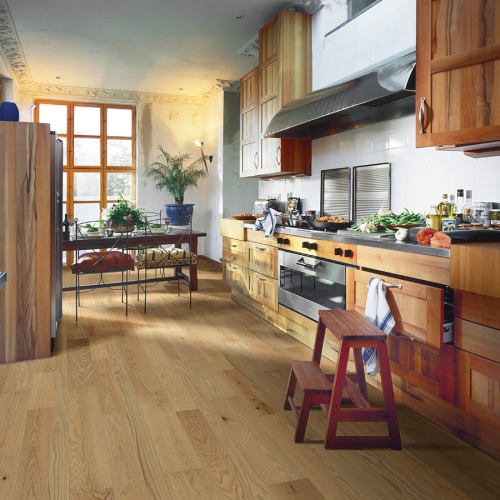
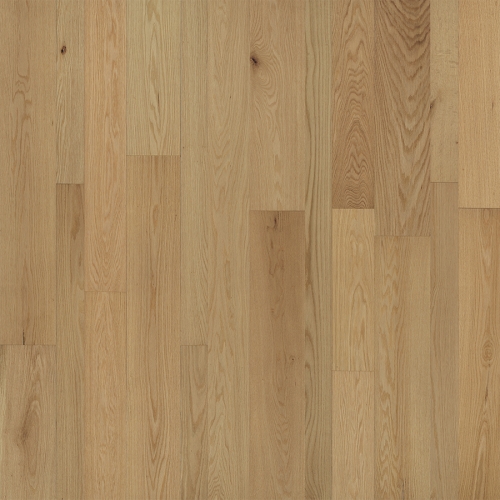
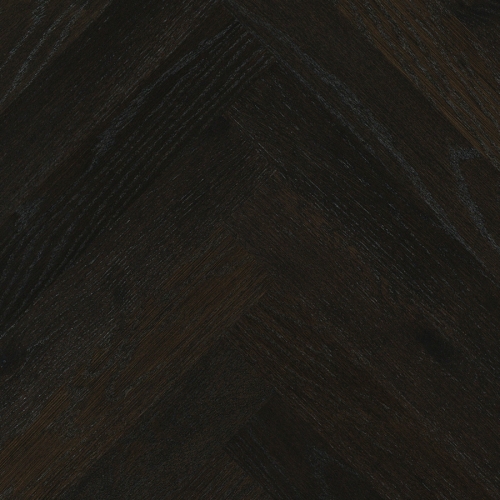
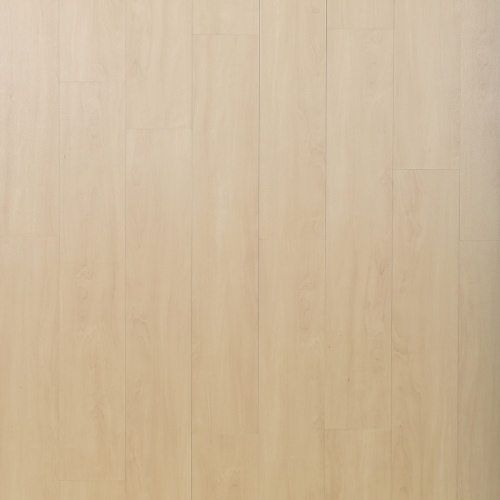
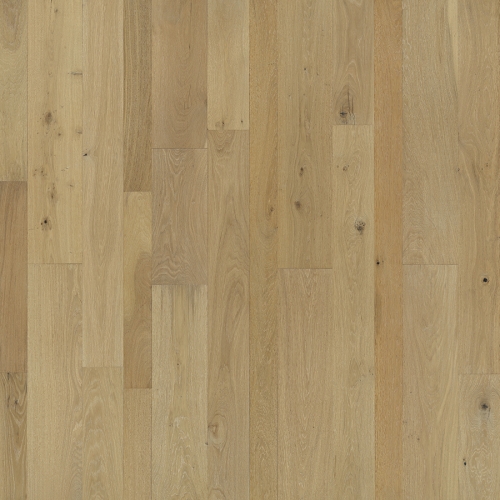
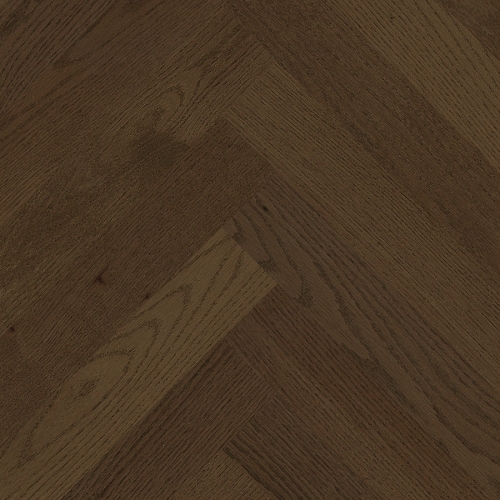
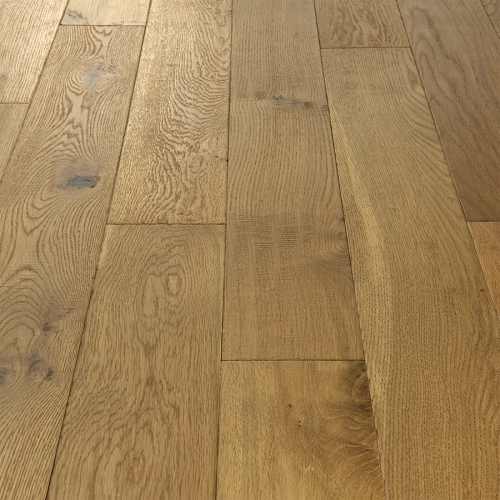
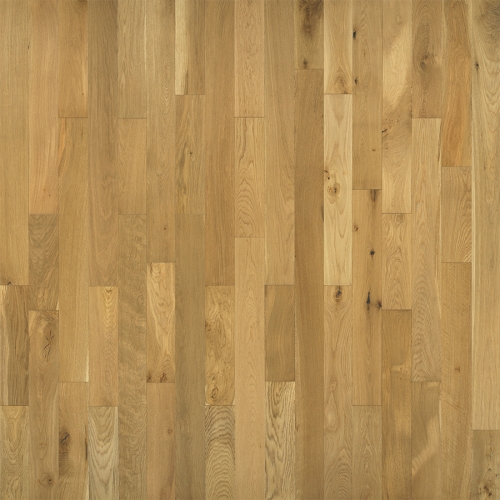
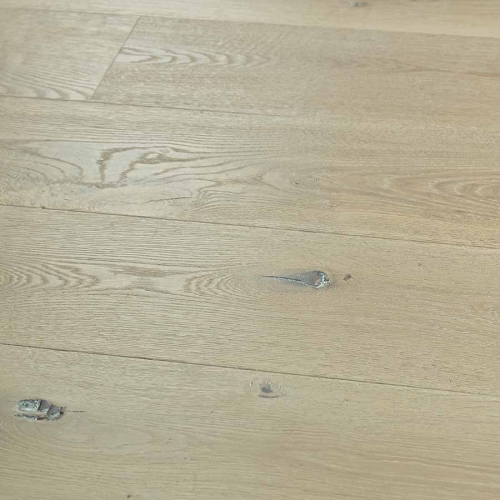
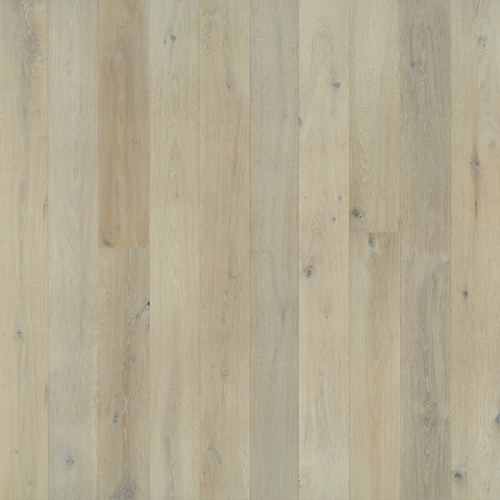
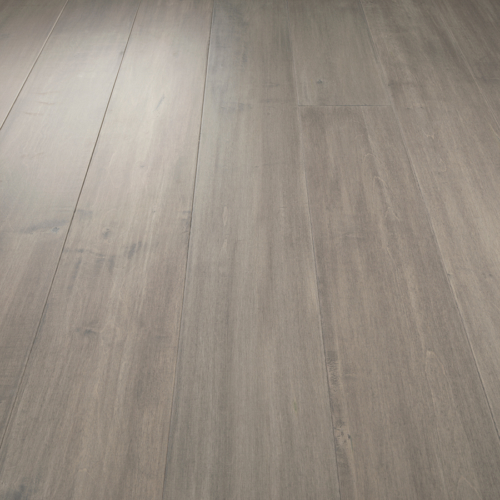
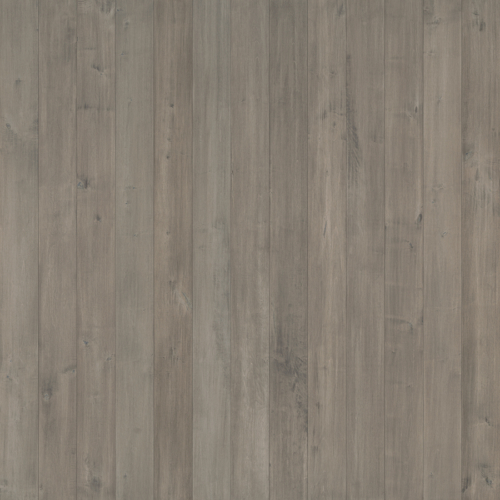
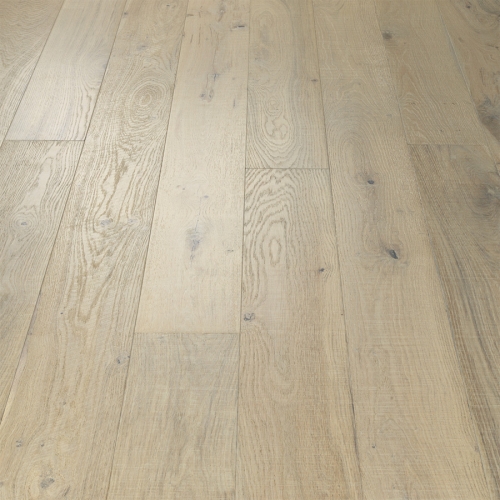
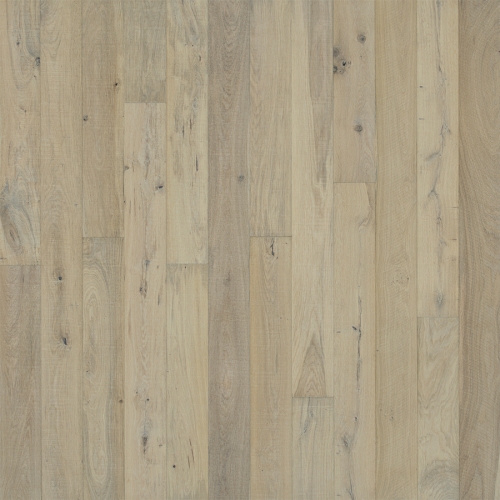
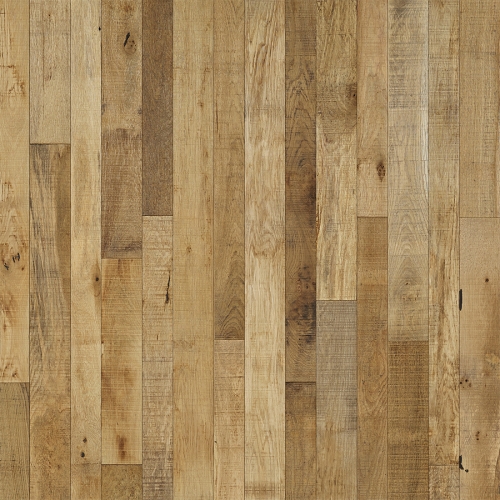
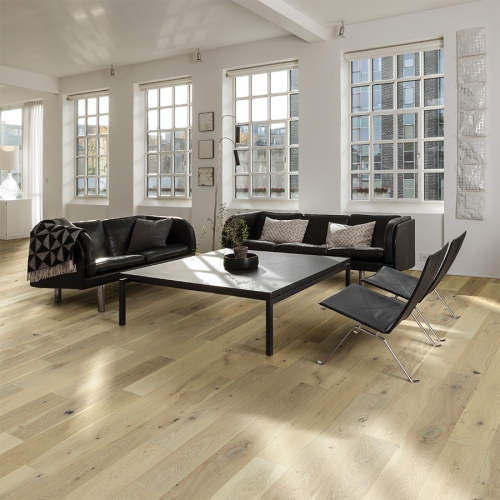
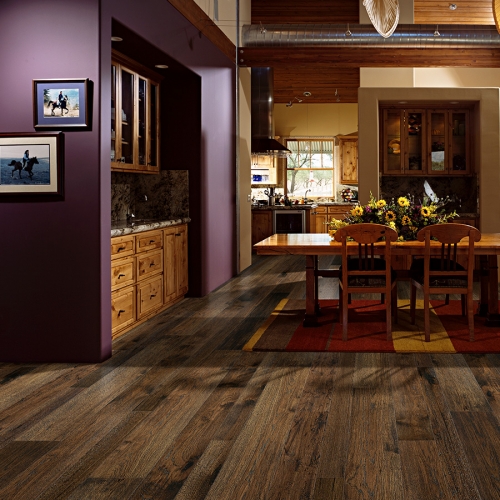
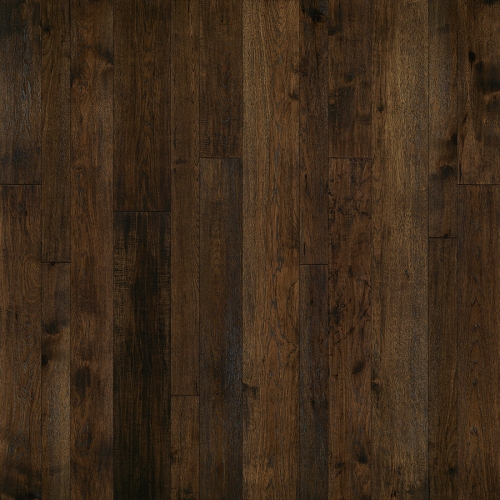
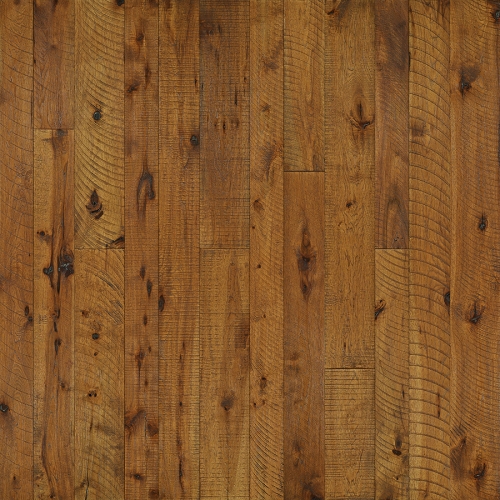
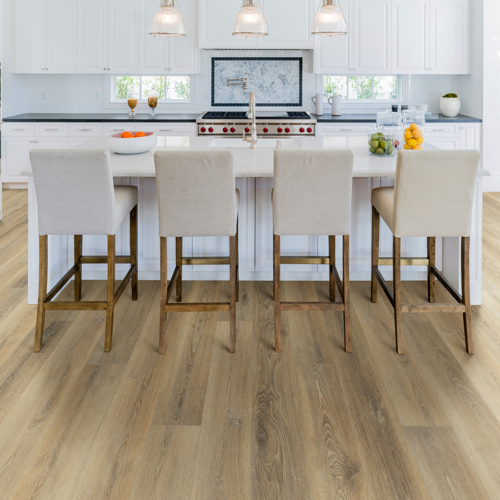
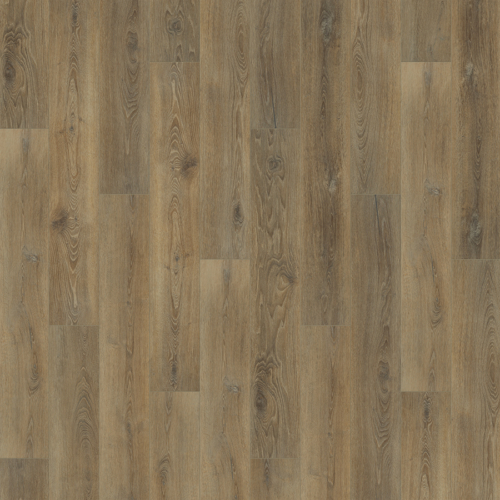
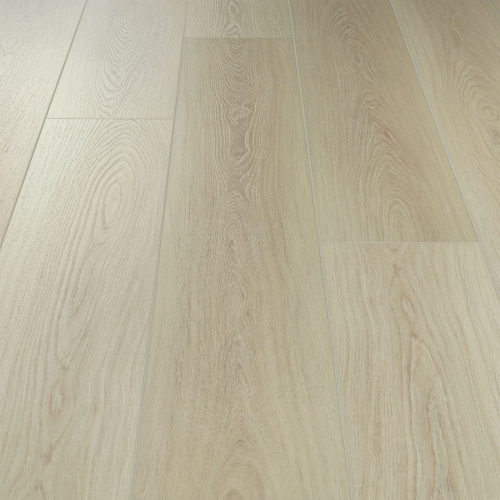
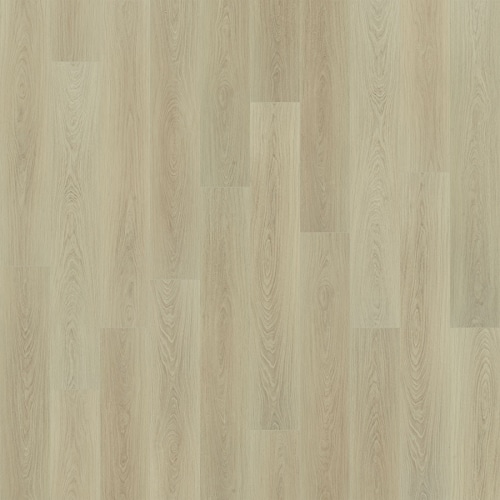
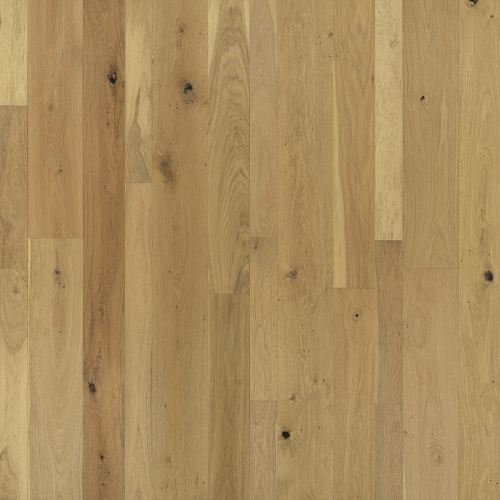
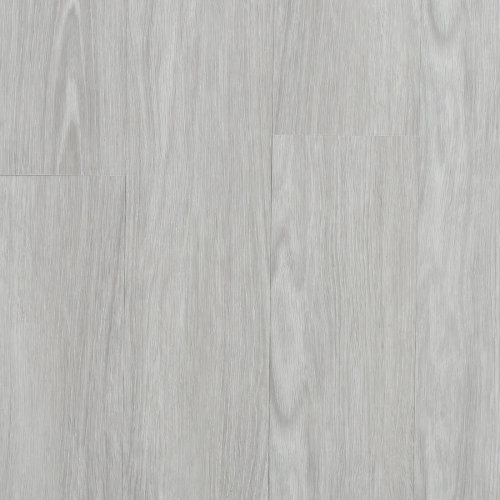
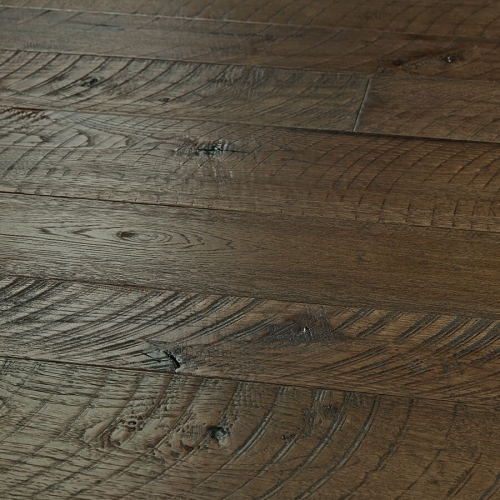
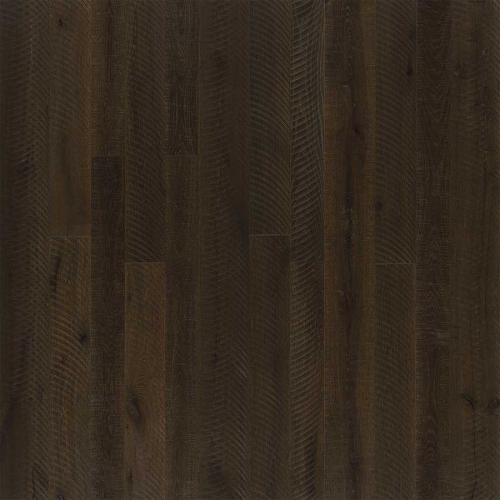
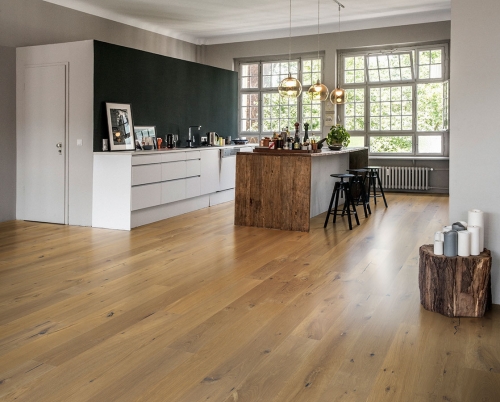
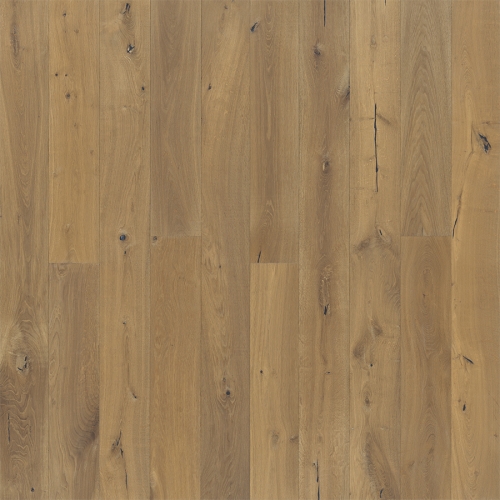
FLOORING PRODUCTS


Notice
Hallmark Floors Inc. will not honor any claim for product(s) purchased over the Internet, nor will we accept returns of such materials. It is critical that our customers have the full protection of our distributor-dealer network. Without the proper chain of custody, the consumer is at risk of purchasing damaged product, bait and switch knock offs or misrepresentations. Under the terms of Hallmark Floors Internet Sales Policy, retailers are expressly prohibited from promoting prices online… No Exceptions.
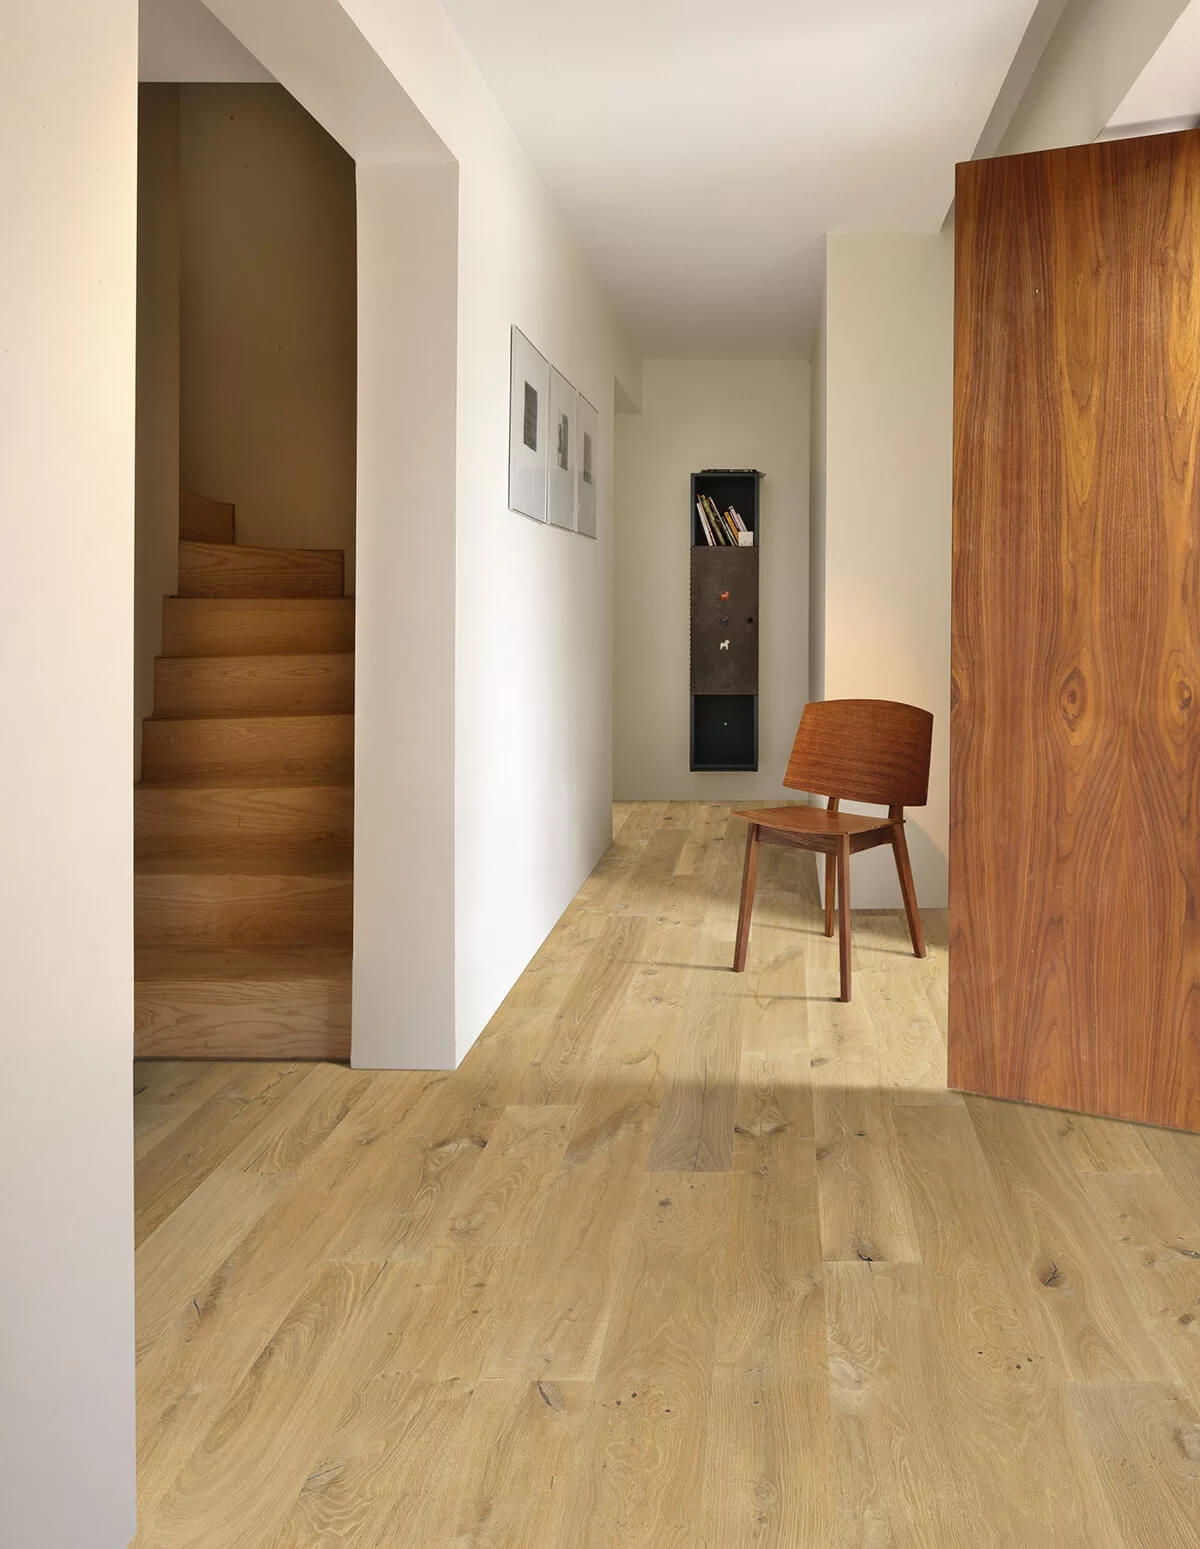
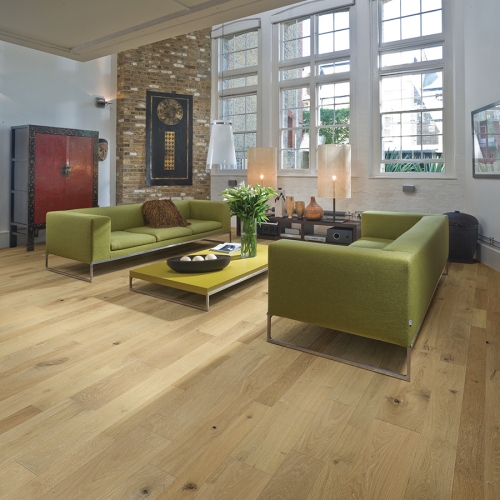
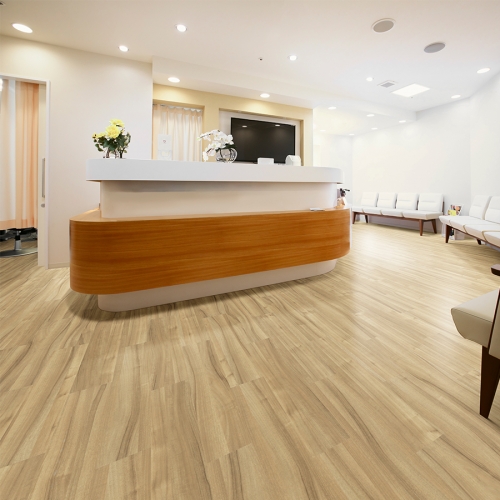
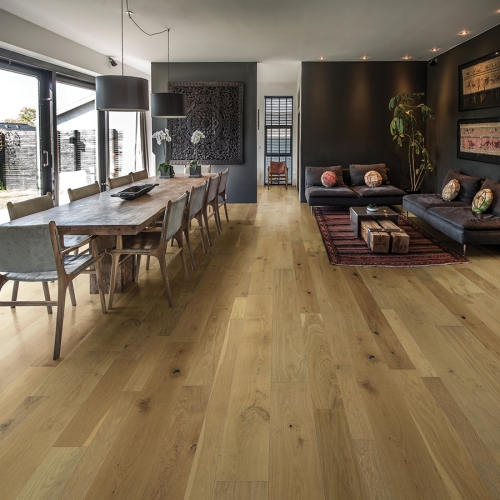
Hallmark Floors is a firm believer in the value of the Internet as a resource for product information. Our website is designed with leading edge tools and information on both product and fashion. Our Dealer Locator will direct you to local, Authorized Hallmark Floors Retailers. While the Internet is a useful tool, photos cannot fully represent the impact of the product; seeing and touching the product along with obtaining the service and expertise offered by a local Authorized Hallmark Floors is the proven way to make your selection.
Our internet policy does not allow the use of our trademark, links, photography, or representations of our product in association with posted pricing, product on sale. The Hallmark Floors retailer is to sell product within serviceable driving distance of a dealer’s primary place of business. We DO NOT include Internet Dealers in our Authorized Dealer Network. Dealers who improperly offer Hallmark Floors for sale online will be subject to the loss of access to Hallmark Floors, removal from our Authorized Dealer Program and noted as an unauthorized dealer. Continued unauthorized use of Hallmark Floors trademarks and images will be subject to legal action. https://www.compassflooring.net/
